Forms Manager
Design > Forms Manager
Forms manager extension provides very powerful tools to manage customer's forms in WebriQshops. You can create and edit forms with various data/html fields types and pre-defined values.
Fields in the form will be selected and submitted by your customers.
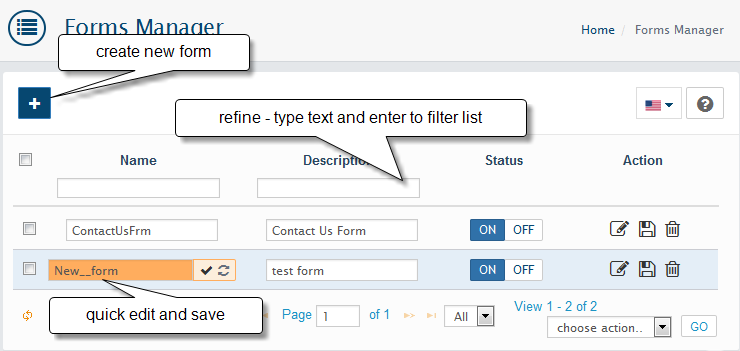
To add a new form click the + button. Look for all available field types and values and select and fill what is needed for your form.
Once you add new field you can set details value or values to created field.
Fields can be required. This will require your customers to select or provide input.
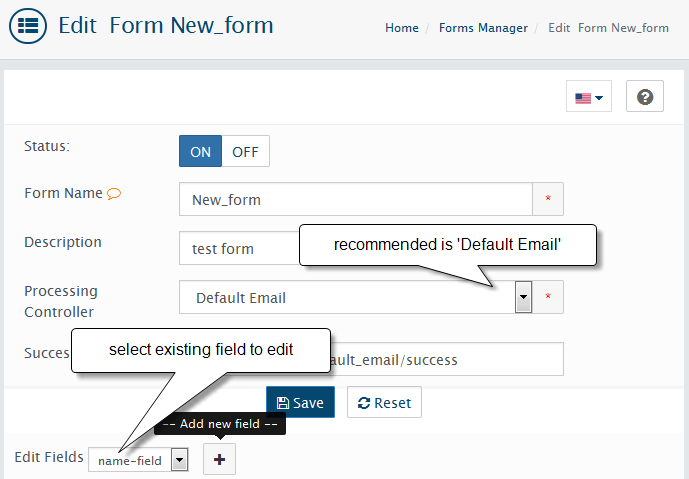
Form Name: The form name as it will appear in the admin front.
Description: as it will appear in the front-end.
Processing Controller: select Default Email. Submitted forms will be emailed to your store email
Success page: Leave it empty if you want to redirect to the same page as controller
After you have made your changes, select the SAVE button.
Info
Few more important settings require configuration are Default Sender and Default Sender Email available in Admin > Extensions > All extensions > Forms Manager extension.
Create block that will include your new form. Form can be added to block and located on any placeholder of existing pages. To create Custom Forms Block go to Admin-Design-Blocks and click the + button, select Custom Forms Block option.
Once block created select pages there you want to show form block. This can be done in Admin > Design > Layouts or in the layout for product, category, manufacturer and content edit pages.
Locate placeholder in the page layout, there you like form to be located, add form block. Save
Note: New page can be created just for form in Admin > Design-Content section and form block can be added to this page.
File Upload Field Type Notes:
To set up "file upload" field type you'll see additional non-required settings:
- Allowed Extensions are file extensions (ex.: png) that are allowed for upload. Several extensions may be separated with coma.
- Min/Max Size - min/max allowed file size in Kb.
- Upload Directory - directory where uploaded files will be saved. Your directory will be created in _your_site_folder_/admin/system/uploads. If you'll leave this field empty, files will be uploaded to default directory.
You can see uploaded files at Control Panel > System > Data > File Uploads