Domain Registrar Settings
There are numerous domain registrars and hosting companies available on the web, Google Domains, 1and1, GoDaddy, BlueHost, NetRegistry, Dreamhost to name a few. Domain settings would most likely be similar.
Please follow the simple steps below according to your Domain Registrar. Navigate through your DNS Manager, and point it to our WebriQ Portal Site.
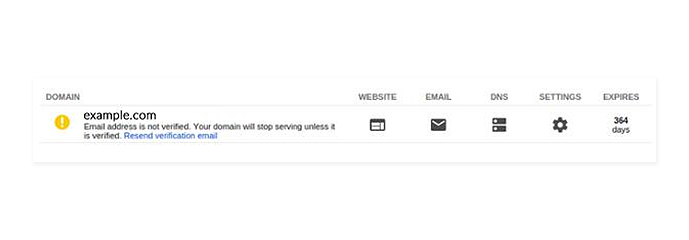
NOTE!
A Record: your raw domain (example.com) should be pointing to 104.198.14.52
Domain Provider Walkthrough
A Record
CNAME Record
GoDaddy
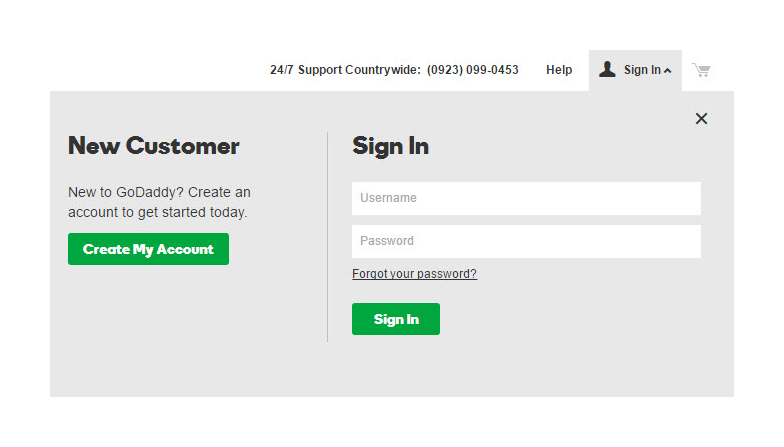
- 1Log in to your GoDaddy account
- 2Click the plus sign next to Domains.
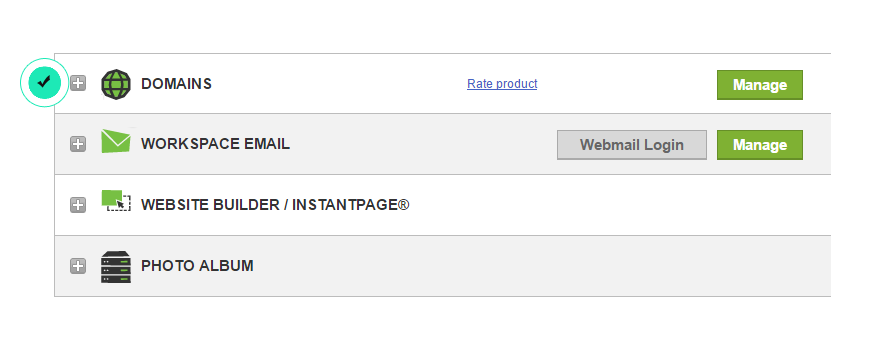
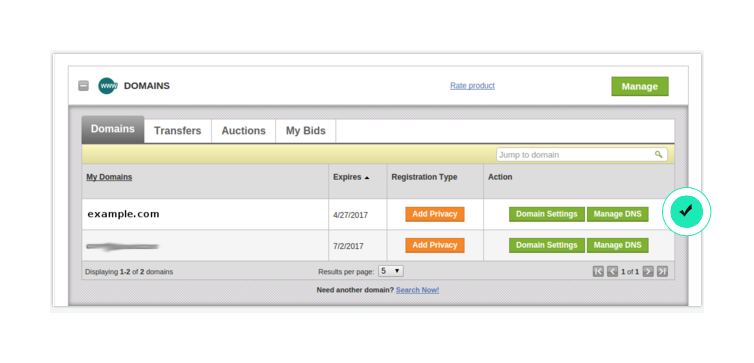
- 3For your chosen domain, click Manage DNS
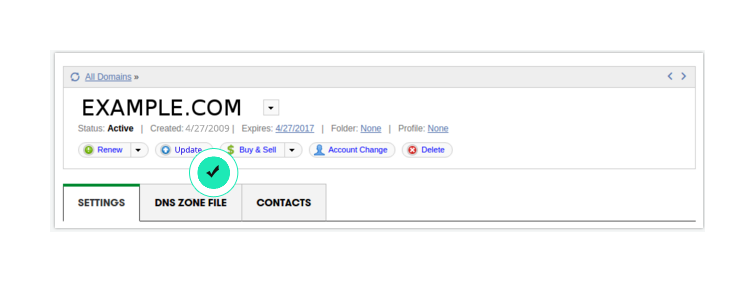
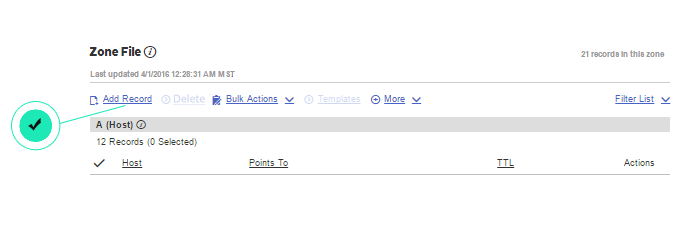
- 4Click DNS ZONE FILE
- 5Click Add Record
- 6Add an A Record as shown below, then click Add Another
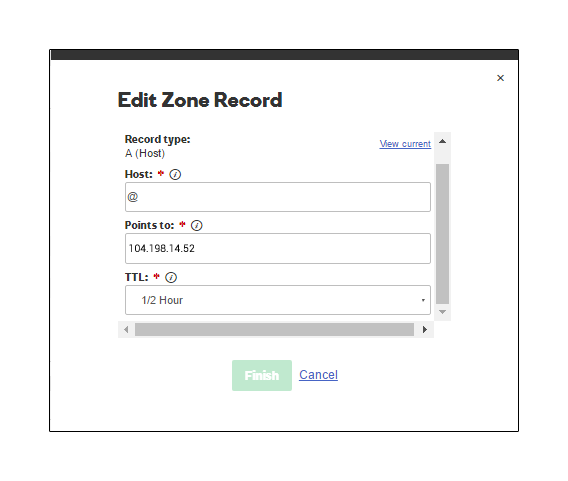
- 7Add an A Record as shown below, then click Finish

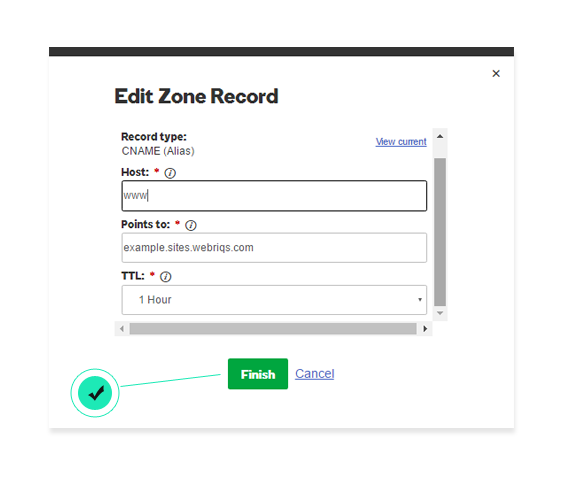
- 8Click Add Record
- 9Add a CNAME, then click Finish
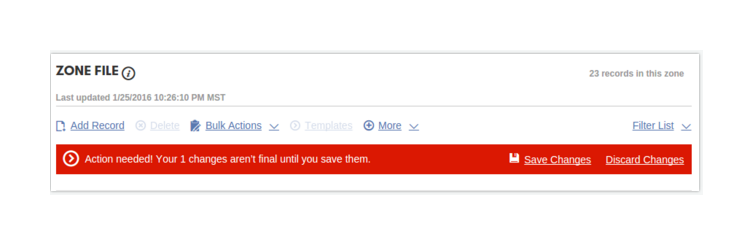
- 10Don’t forget to save!
NOTE!
It is highly recommended to point your custom domain to our servers to take full advantage of our content delivery network (CDN). This method can be done by creating a CNAME record in your DNS Configuration. The CNAME record will serve as an alias to your site’s subdomain on WebriQ (e.g. www pointing www.example.com to example.netlify.app or www.blog pointing www.blog.example.com to example.netlify.app ). If the Domain provider is GoDaddy, please follow the simple steps below. Domain settings will most likely be similar to other Domain Registrars.
NOTE!
It could take up to 48 hours (but most likely won’t) for the changes to go into effect.
Google Domains
- 1Once logged in, click the server icon under DNS
- 2On Custom Resource Records, click the dropdown menu. Then choose A and put ‘@’ on the first box. Afterwards, input
104.198.14.52in the IPv4 address box, and click Add.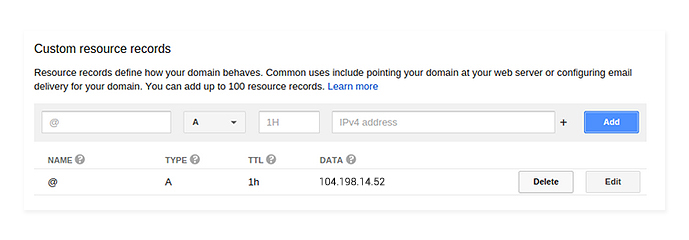
- 3Still choose A and put ‘*’ (wildcards) in the first box, and input the IPv4 address to
104.198.14.52then click Add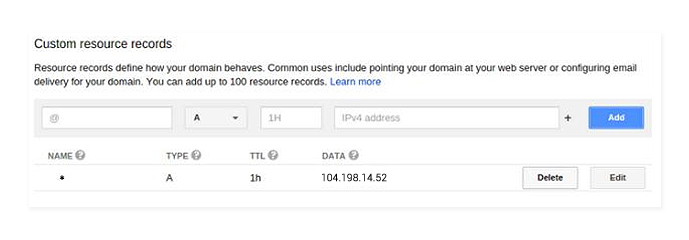
NOTE!
All of these DNS changes could take up to 48 hours (but most likely won’t) for the settings to take effect.
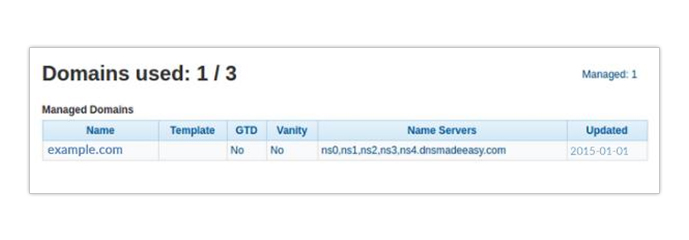
DNS Made Easy
- 1Click Domains, and then the name of your domain
- 2Click the + sign, under A Records
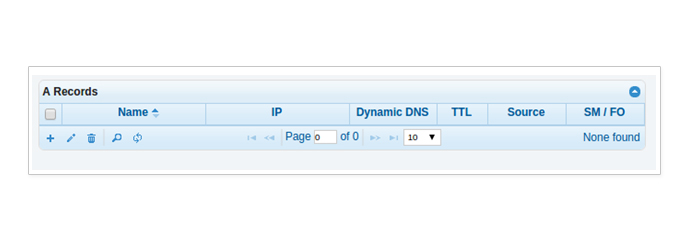
- 3Just leave the Name box blank, and input
104.198.14.52in the IP box, and click Submit
- 4Click the + sign, under A Records
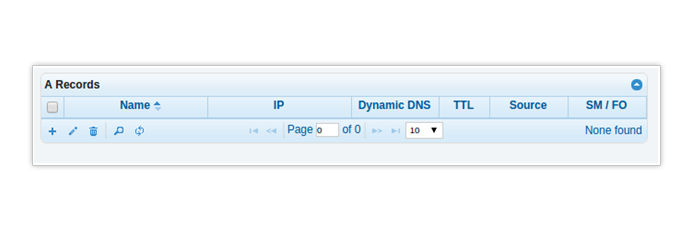
- 5Input ‘*’ (wildcards) in the blank box, and
104.198.14.52in the IP box, and click Submit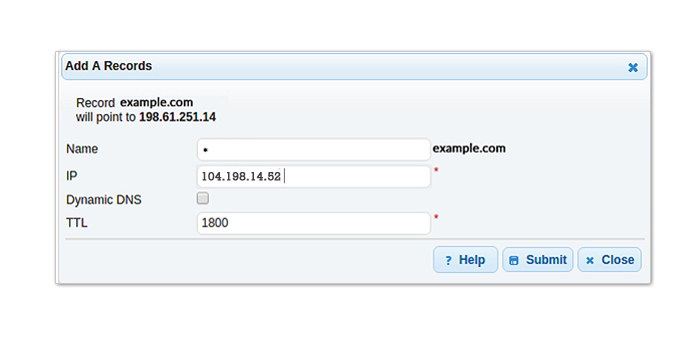
NOTE!
All of these DNS changes could take up to 48 hours (but most likely won’t) for the settings to take effect.
1and1
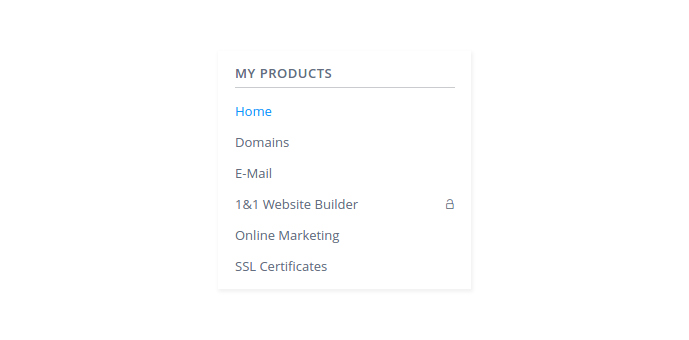
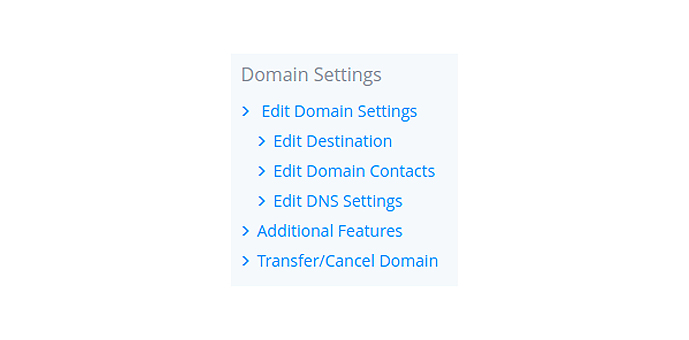
- 1Once logged in, click Domains in the left sidebar
- 2Click Manage domains, then Edit DNS Settings
- 3On the A/AAAA and CNAME Records, select Other IP address and enter
104.198.14.52in the IPv4 Address box. Then scroll to the bottom and click Save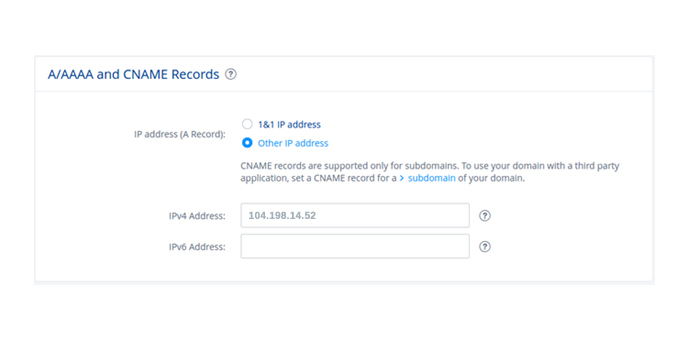
- 4You will be returned to the Domains page after clicking Save. Click Manage Subdomains

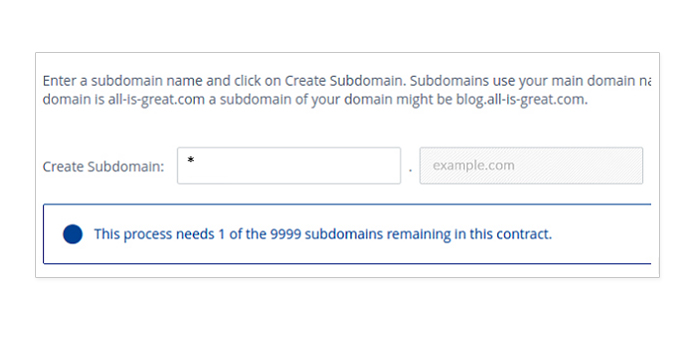
- 5Click Create Subdomain

- 6Enter ‘*’ (wildcards) in the Create Subdomain box, then click Create Subdomain
- 7Click the down arrow to expand your options, then click Edit DNS Settings
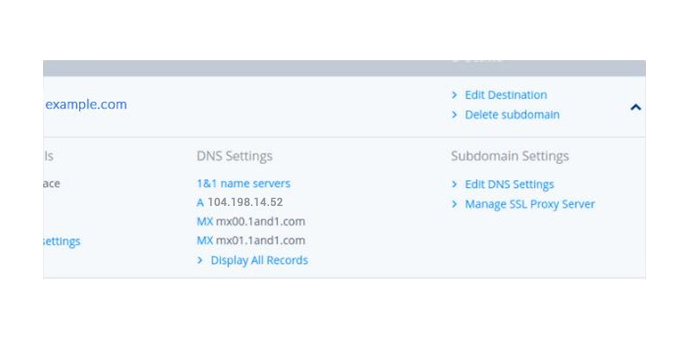
- 8On the A/AAAA and CNAME Records, select Other IP address and enter
104.198.14.52in the IPv4 Address box. Then scroll to the bottom and click Save
NOTE!
All of these DNS changes could take up to 48 hours (but most likely won’t) for the settings to take effect.
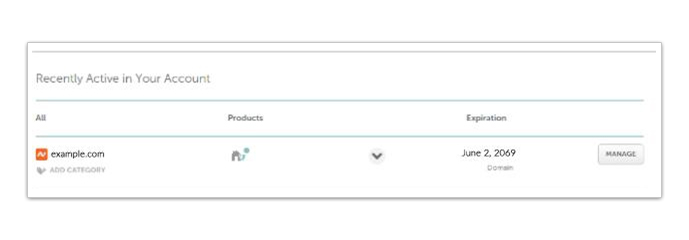
Namecheap
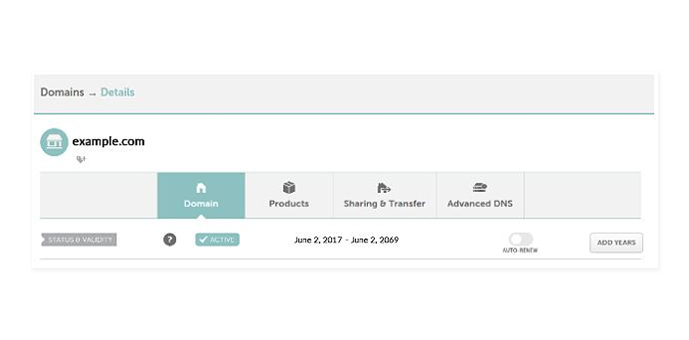
- 1Once logged in, go to your dashboard and click Manage
- 2Then Click Advanced DNS
- 3Under Type, select A Record again under Type. Enter ‘@’ and
104.198.14.52respectively, and click the check mark (green)
- 4Again, select A Record under Type. Input ‘*’ (wildcards) and
104.198.14.52respectively, and click the check mark (green)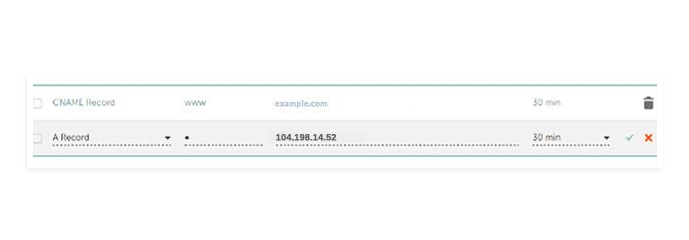
NOTE!
All of these DNS changes could take up to 48 hours (but most likely won’t) for the settings to take effect.